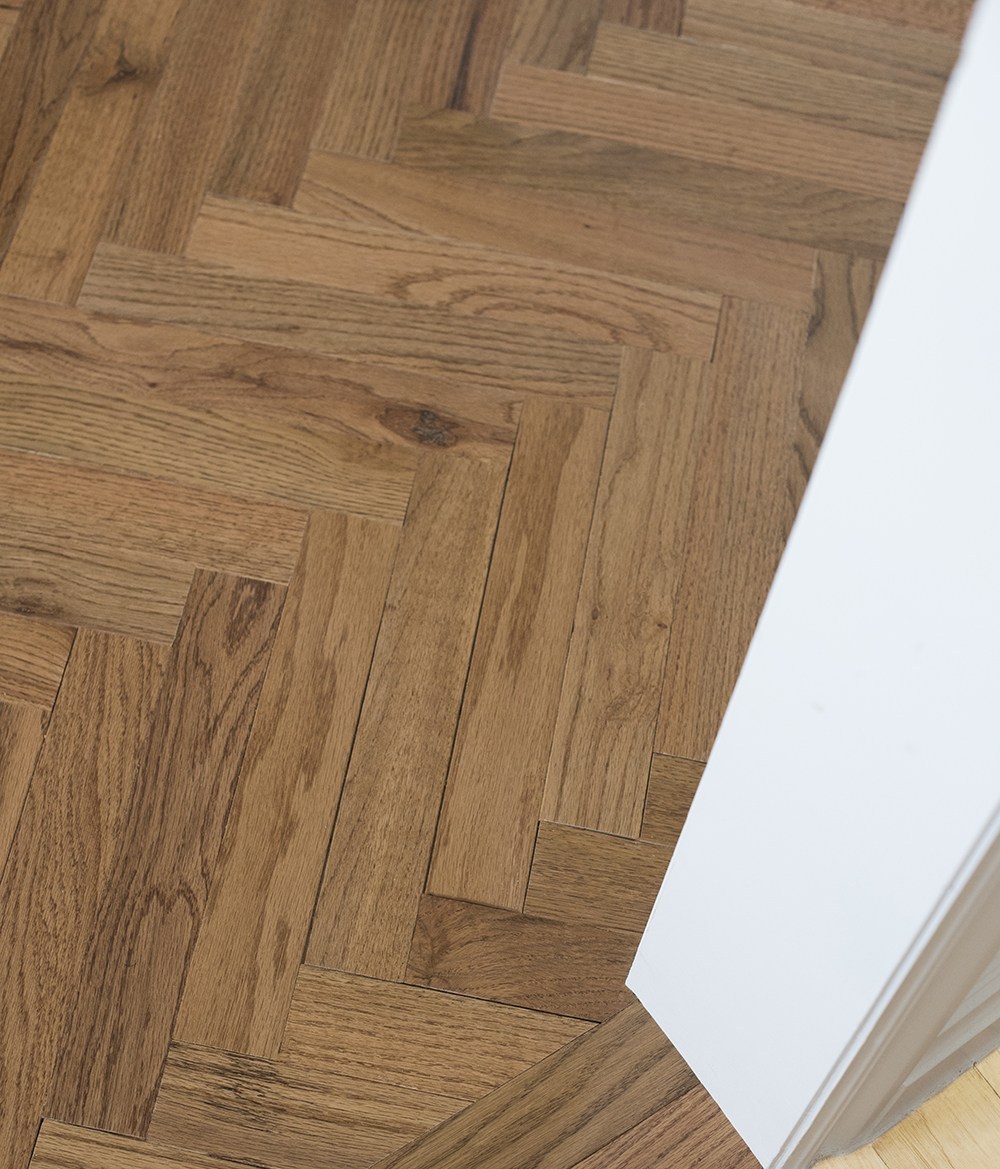

Solid Herringbone Hardwood Flooring
Freeman Flooring Nail Gun
Bostitch Air Compressor
Bostitch 2″ Flooring Nails
Craftsman Measuring Tape
Dewalt Compound Miter Saw (+ Stand)
15 lb. Roofers Felt
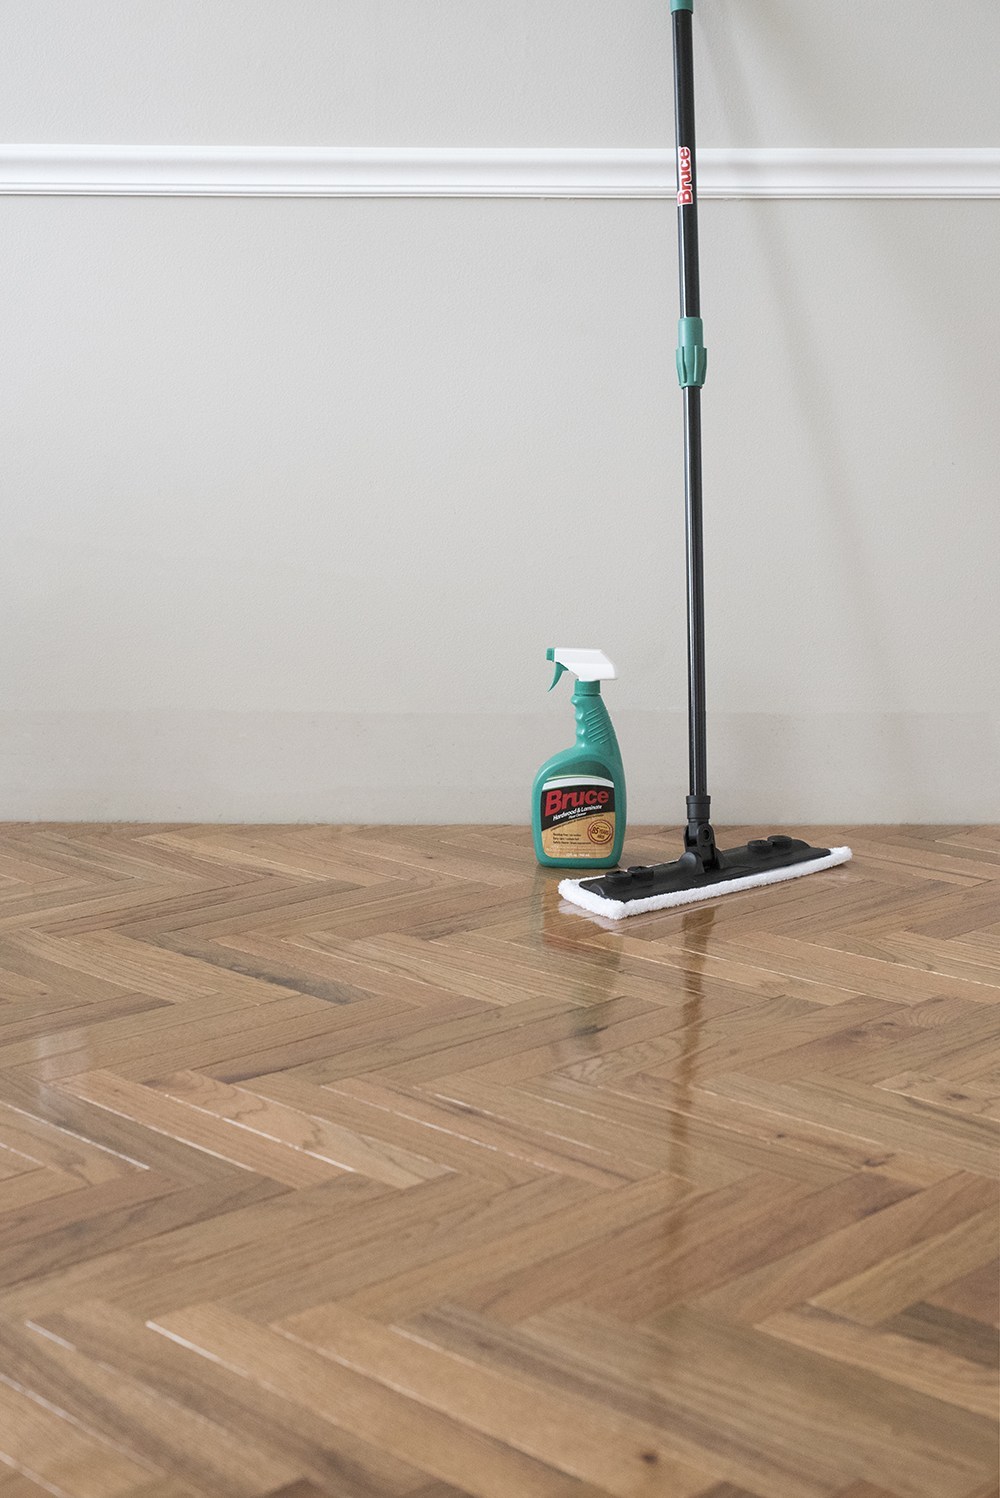
Hardwood Cleaner and Mop Floor Care Kit
Kobalt Fiberglass Claw Hammer
Kobalt Pry Bar
Craftsman Screw Driver
Bostitch Staple Gun
Bosch Router
Step 1 // Install the roofing felt.
Next you'll want to unroll the roofers felt and staple it down to the subfloor. This will create a nice moisture barrier between the subfloor and hardwood.
Step 2 // Establish the layout and find the center of the room.
Once you've determined which direction your herringbone pattern will run, you'll want to find the center. That's where you'll begin, then work your way out. You can mark the floor with a chalk line or whatever is easiest!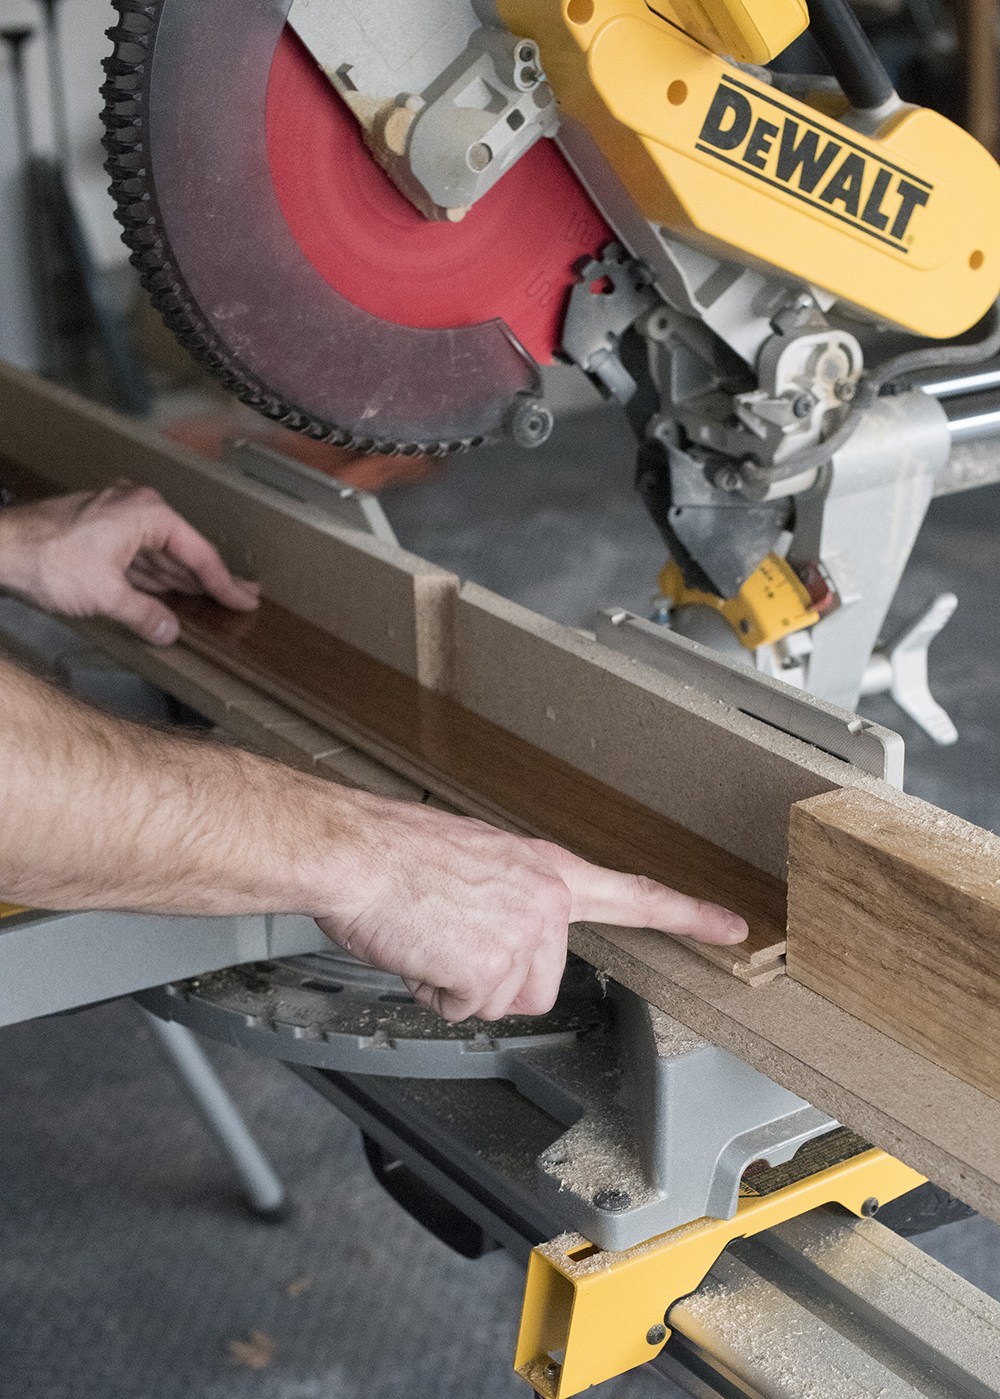
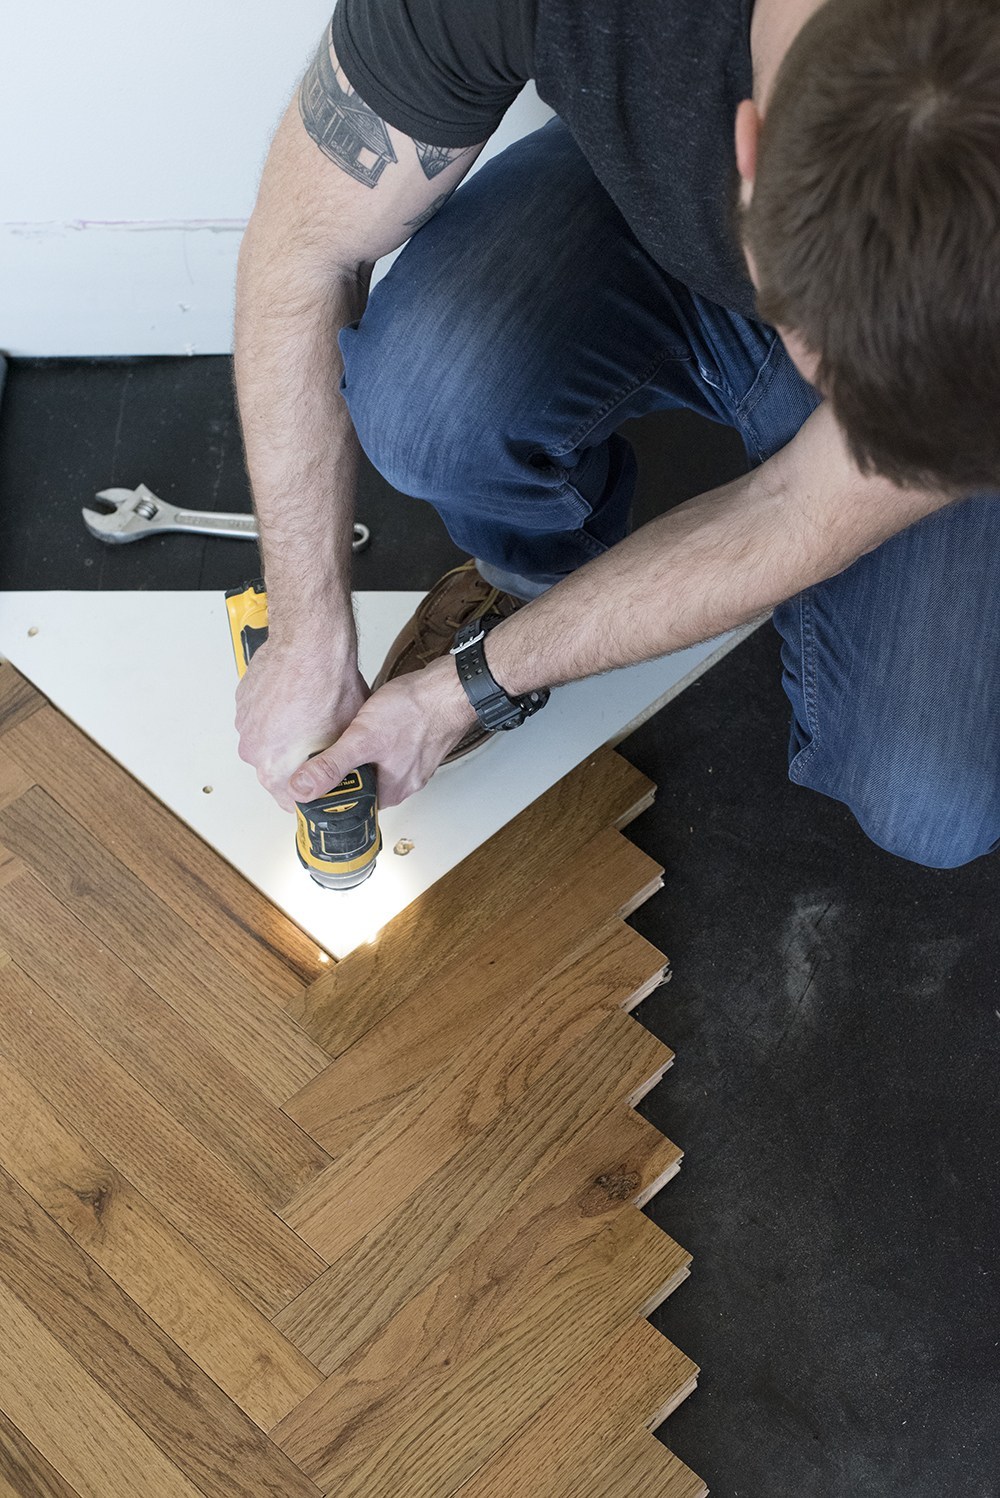
Step 3 // Create a jig (aka template piece) and nail it down.
Emmett cut a piece of backer board to a 90 degree triangle that we used for a jig… aka, template piece. Make sure you screw the jig down so once you start laying the hardwood, it doesn't shift. Trust me when I say, it will be VERY bad if the pattern gets off track. You'll end up having to make a million cuts.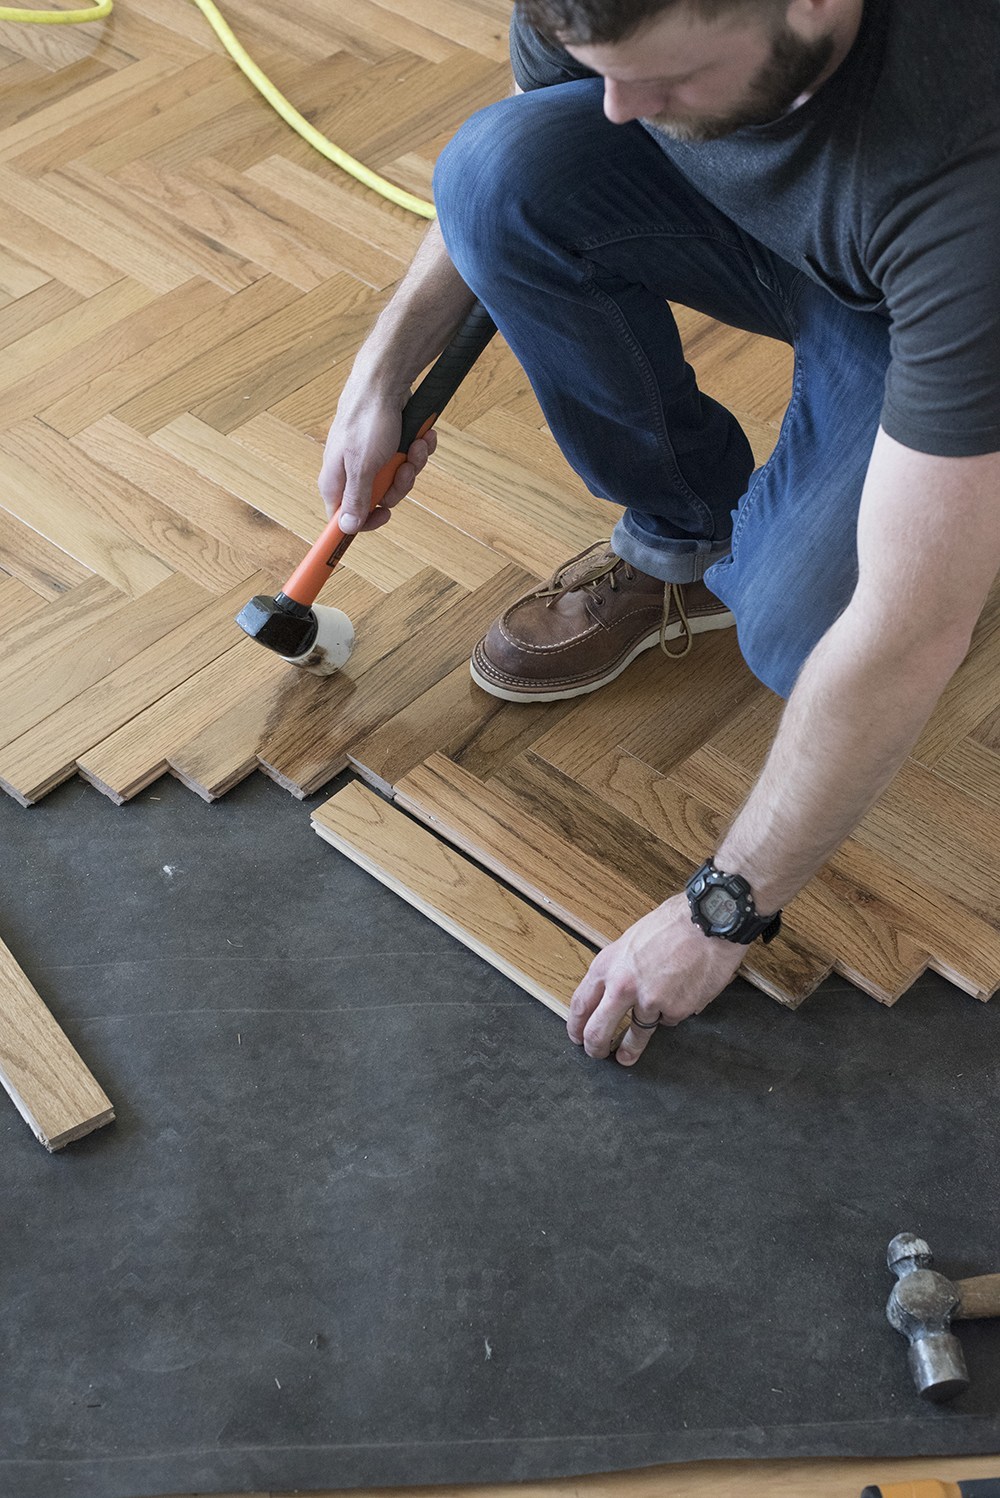
Step 4 // Make the hardwood cuts.
Using a circular saw (we just used our existing Dewalt miter saw), cut the hardwood pieces to size. Emmett set the saw so that it would make the same consistent, precise cut for each piece…. it's much faster than measuring each plank. He also cut an entire box at a time to accelerate the installation process.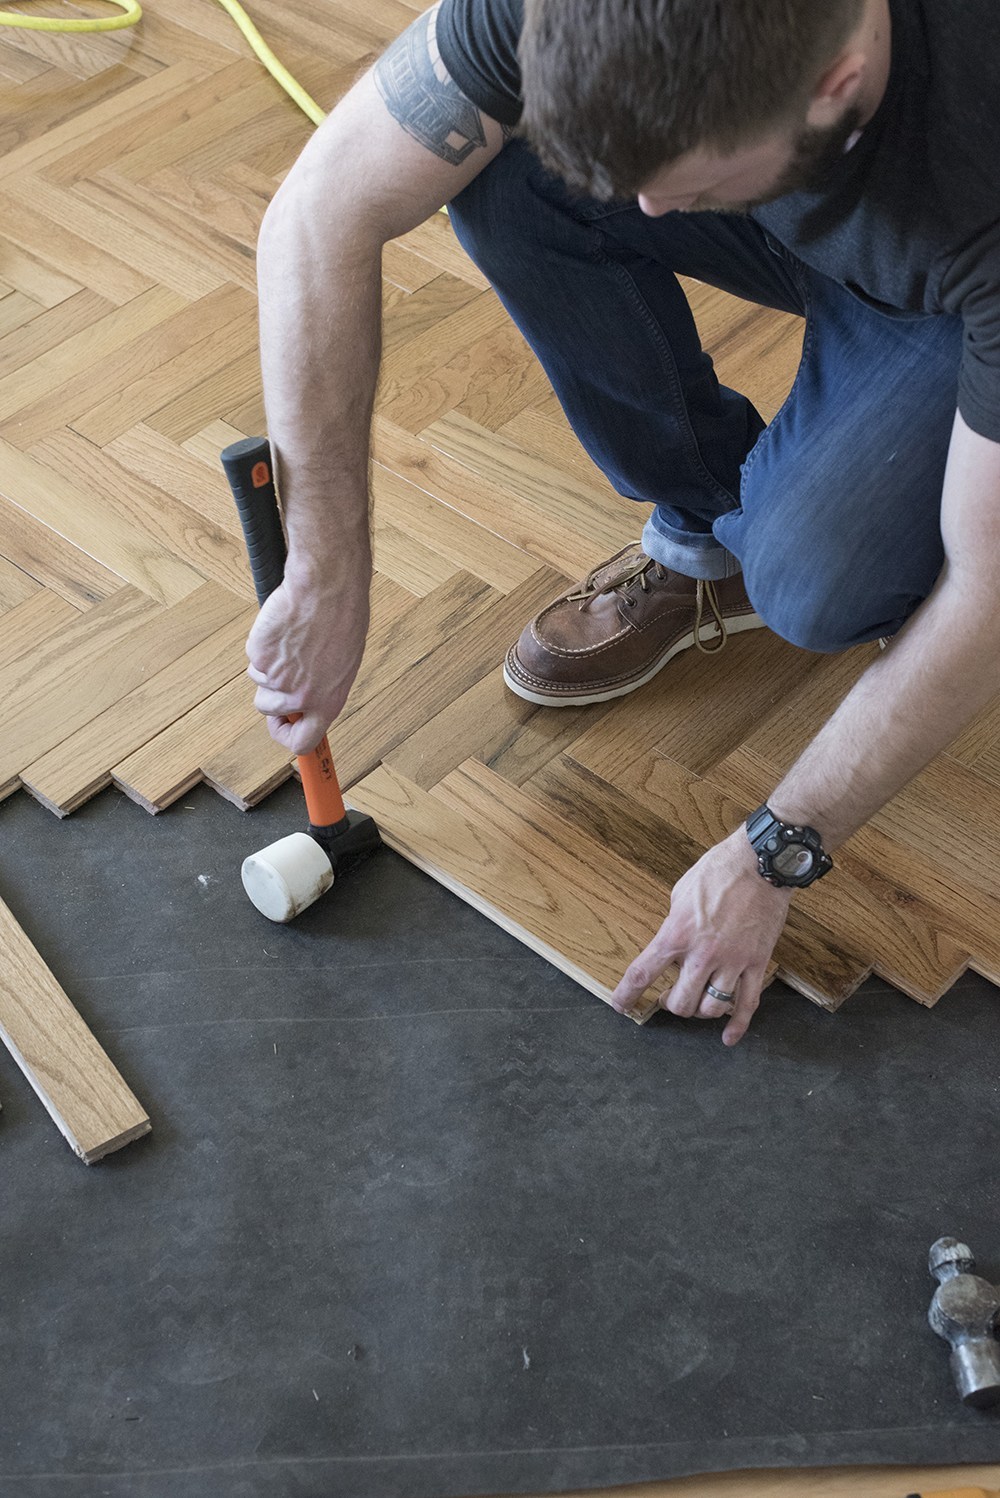
Step 5 // Router the ends.
Using a router with a tongue and groove bit, router a groove into both short ends of the plank. This ensures they lock together properly.
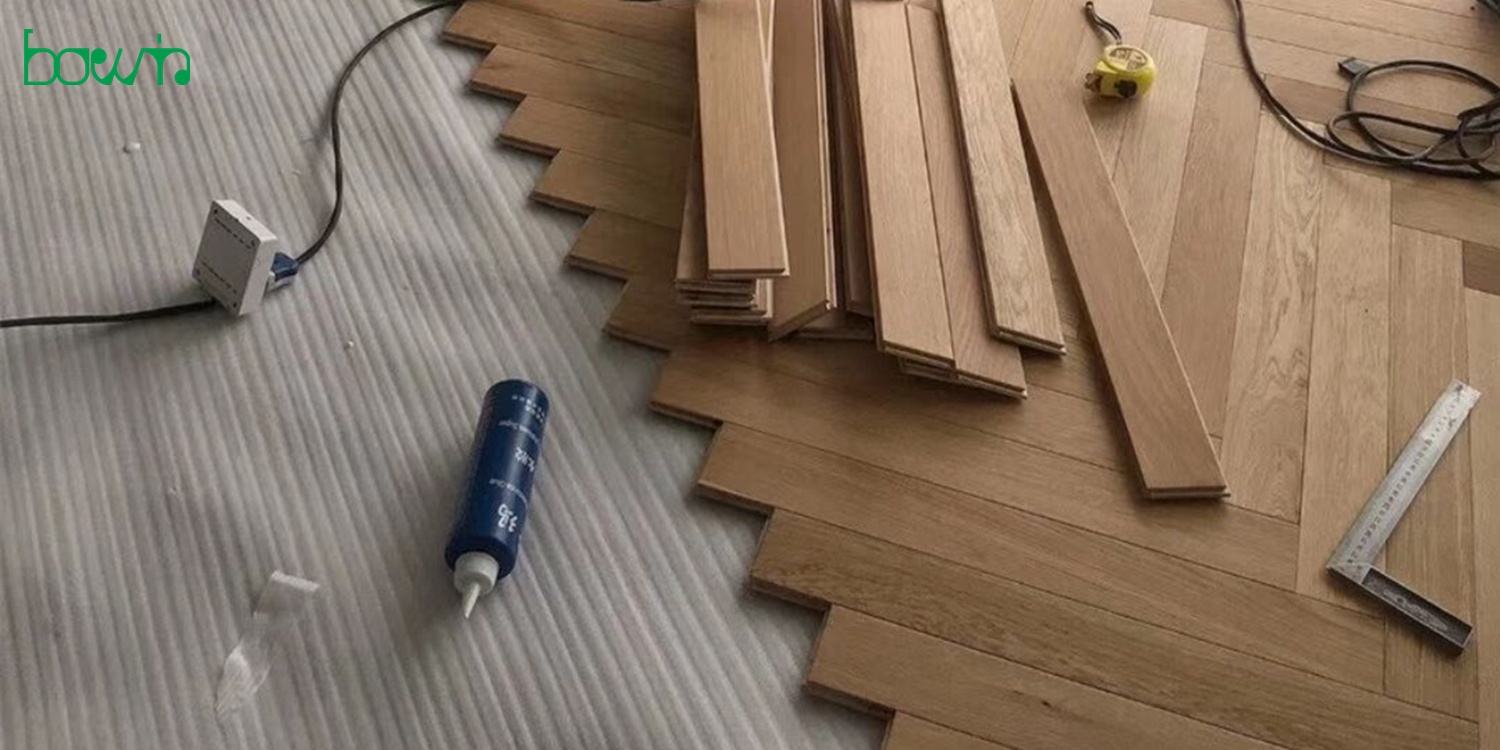
Step 6 // Begin installing the hardwood.
Push two pieces of wood perpendicular to each other, locking the tongue-and-groove, up against the jig. Hammer them in from all sides using the rubber mallet, then secure each into place with the flooring nailer. Each piece of wood gets 3 nails… one in the center and one on each end- no further than two inches from the sides. This Freeman flooring nailer is activated by hitting it on the end with the rubber mallet. It took Emmett a little practice before he started going quickly. Repeat this process until you get to the end of the row.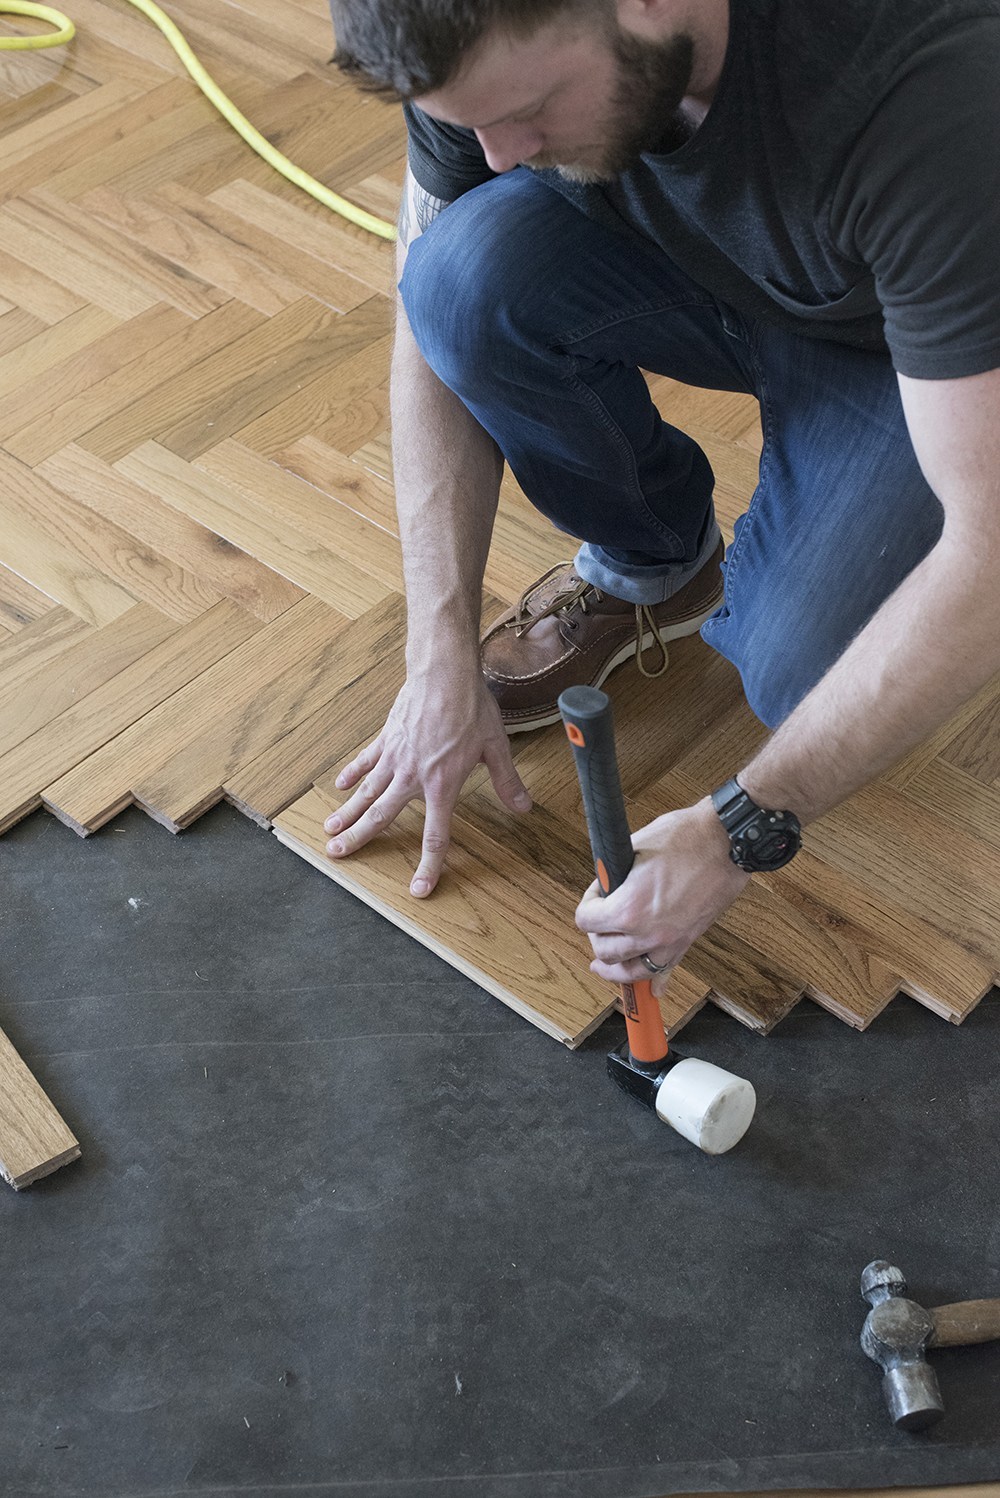
Step 7 // Start on a new row.
Remove the jig and screw it into place on the next row. Work your way back down toward the opposing wall just as you did with the first row.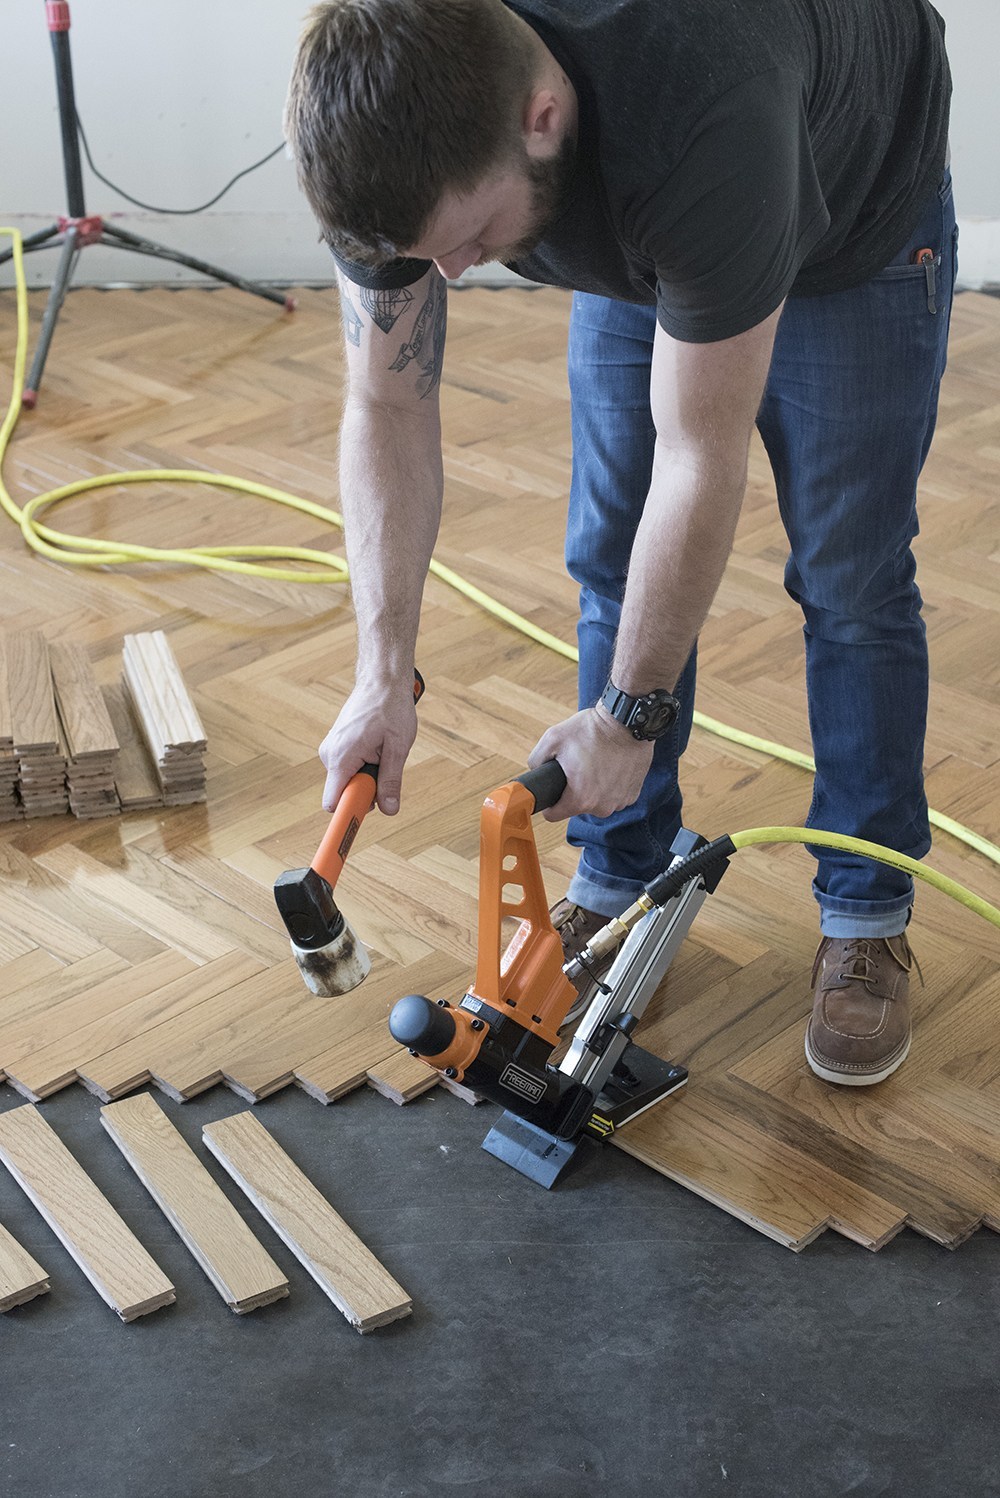
Step 8 // Fill in the corner pieces.
Once you have the majority of the hardwood installed, you'll need to cut smaller pieces for the perimeter of the room. These can be tough to wiggle in, so you'll want to cut them just slightly smaller, so they go in easier and allow for expansion and contraction. You don't want them to fit super tight!
Step 9 // Add finishing pieces.
If you have a threshold or any finishing pieces, this is the time to add them! Since we'll be tiling the entryway next to the office, we just ran a straight line of hardwood between the door jamb, for a finished look. Depending on what tile we choose, we can eventually swap that for a proper threshold!